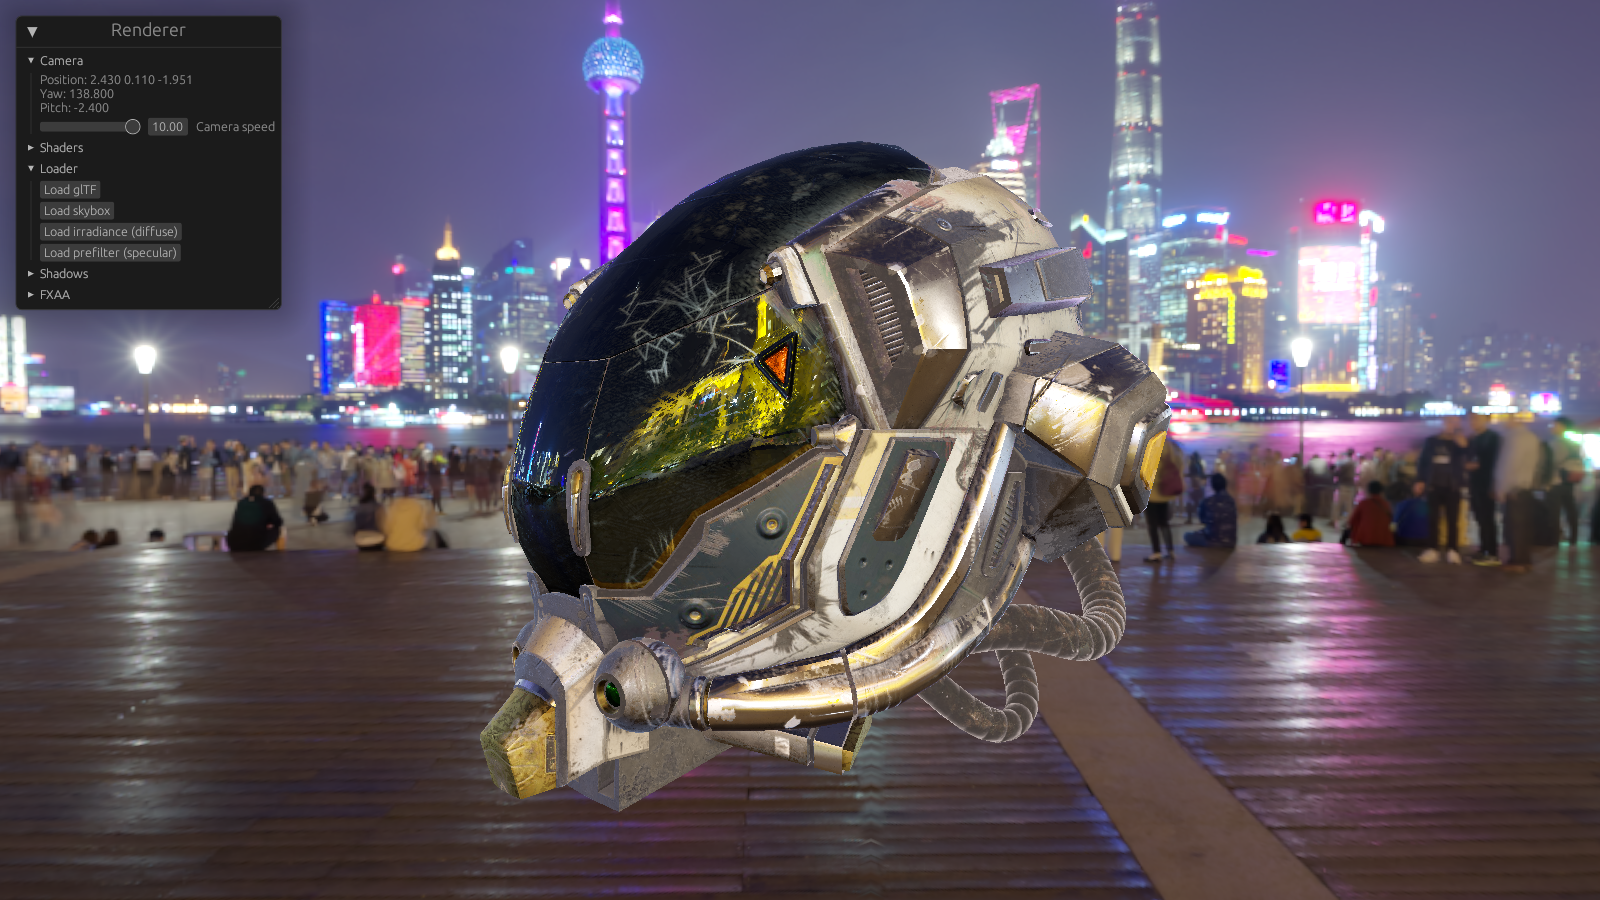
Oceanman is a toy renderer I’ve been making this summer to teach myself computer graphics. It’s the first renderer I’ve ever built and I’m pretty happy with where it’s gotten to! I’ll be leaving for college next week, and I’ll probably have a lot less free time to be working on this project. So I figure now is a good time to talk about what I’ve built so far.
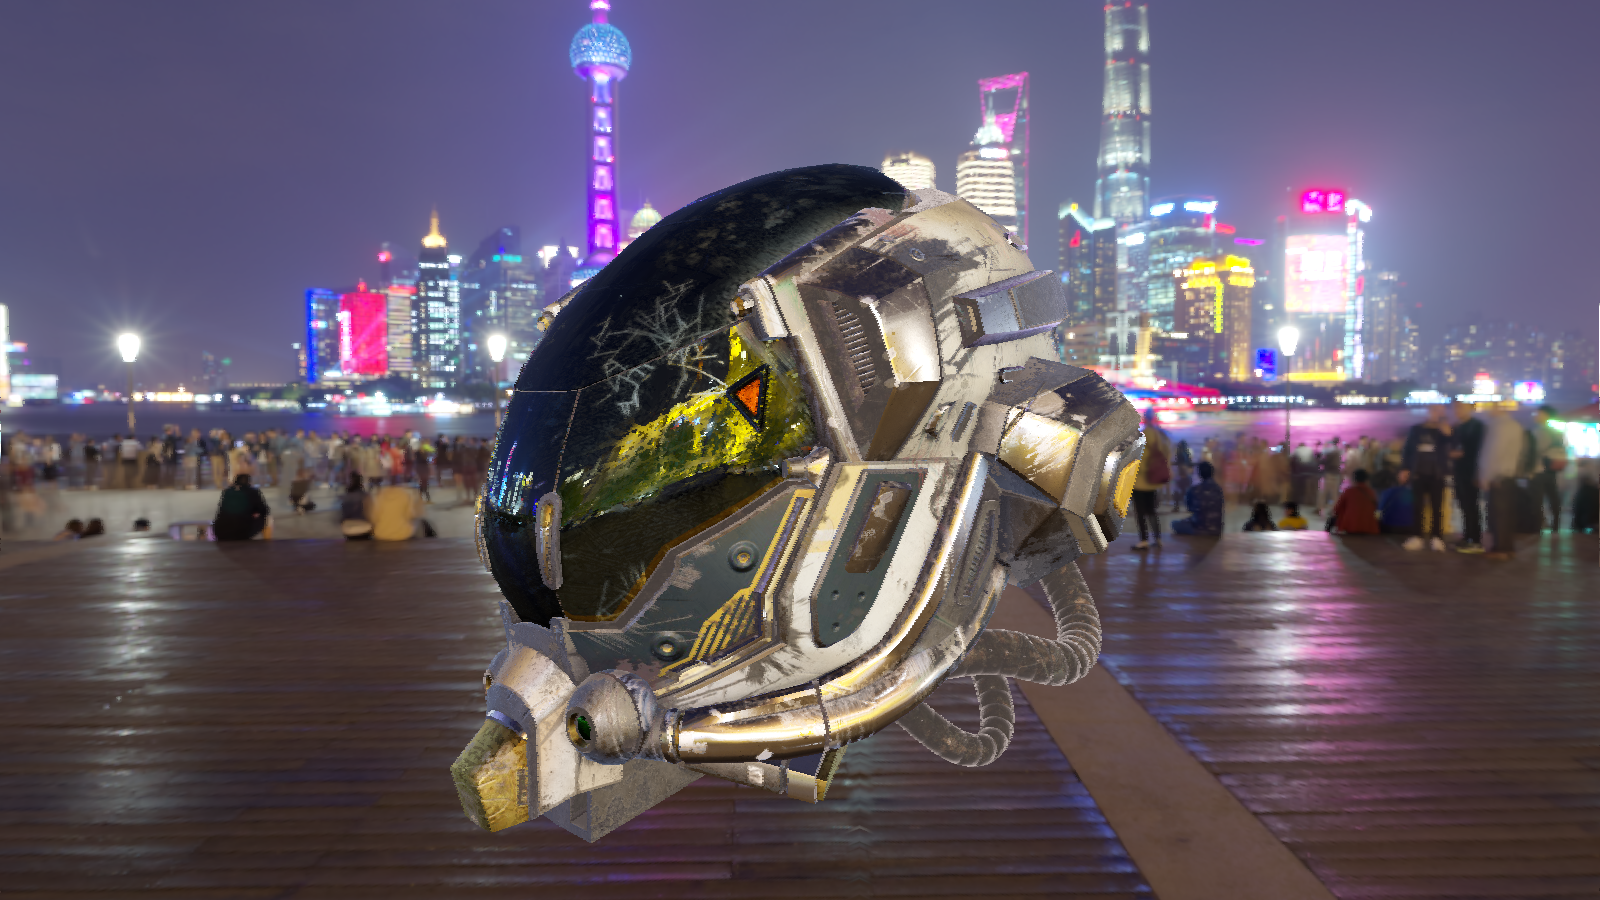
We’ll look at how Oceanman creates this image:

At startup Oceanman needs to load any resources it’s going to use to the GPU. Right now those resources are the .glTF file that contains the scene’s objects, and the various .dds files for image-based lighting - a 2D texture for the BRDF lookup, and cubemaps for the skybox, diffuse IBL, and specular IBL.
Loading the glTF file is pretty simple. glTF files store meshes in a scene graph like structure, so Oceanman walks through that graph and adds all those meshes to a single list; another list is made for all of the file’s materials. Those lists are then put into a Scene struct, that then gets passed to every render pass that needs info about the scene:
pub struct Scene {
    pub meshes: Vec,
    pub materials: Vec,
    pub scene: SceneUniform,
    pub lighting: LightingUniform,
}
Aside from Mesh and Material objects, which are pretty self-explanatory,
Scene also contains a SceneUniform that holds the matrices for view and perspective
projection, and a LightingUniform that holds the positions & colors for point lights in the scene.
Loading the .dds files is simple as well. DDS files store raw RGBA values, so all that’s needed is to iterate
through the file’s data buffer and convert the 32-bit floats it stores to 16-bit floats. The BRDF lookup,
diffuse map and specular map get stored in an IBL struct:
pub struct IBL {
    brdf_lookup: Texture,
    diffuse_radiance: Cubemap,
    specular_radiance: Cubemap
}
and the skybox gets held by the Skybox pass which is its only user. Texture and
Cubemap just hold their nessecary wgpu handles.
One thing about resource loading is that right now, it’s slooow. I tried optimizing the glTF loading and found most of the time taken up by decoding image data. As for why .dds loading takes so long and I’m not sure: if I had to guess it would just be because the files are so large (the skybox in the final render is 128MB!!). I think I could improve loading times by making my own uncompressed, binary file format, where the only real work is just uploading data to the GPU - no need for walking a scene graph or decoding images.
After our resources have been uploaded, Oceanman can begin rendering. The first pass Oceanman does is
WriteGBuffers. Oceanman is a deferred renderer: we first render all the geometrical & material data
to multiple textures, called G-buffers, and then we do a second pass where we actually compute lighting for each
fragment.
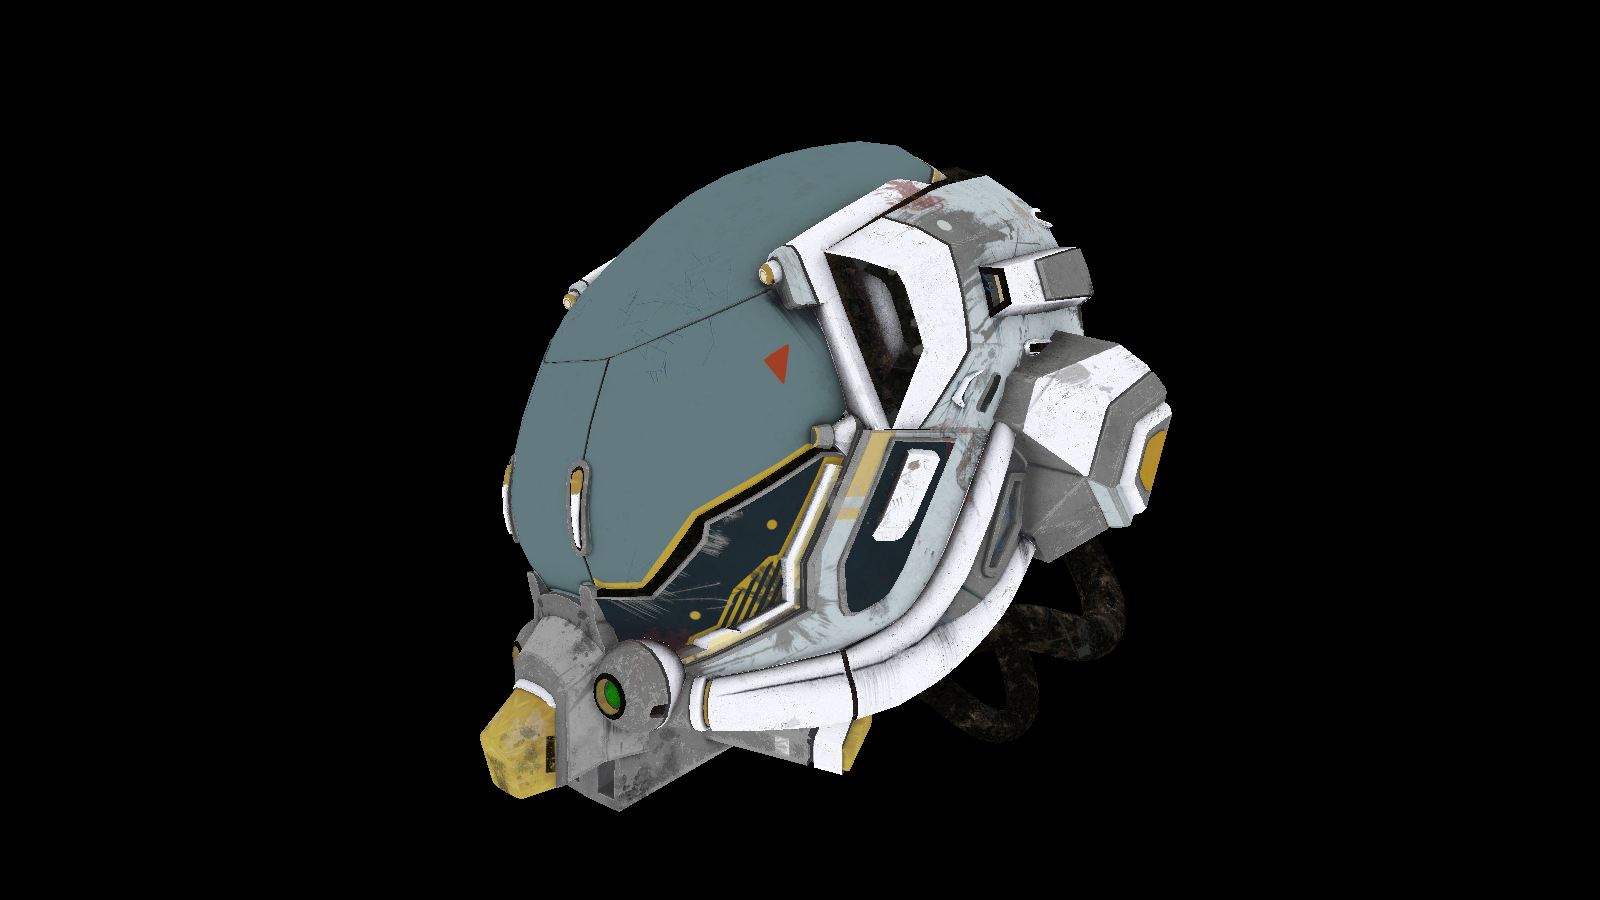
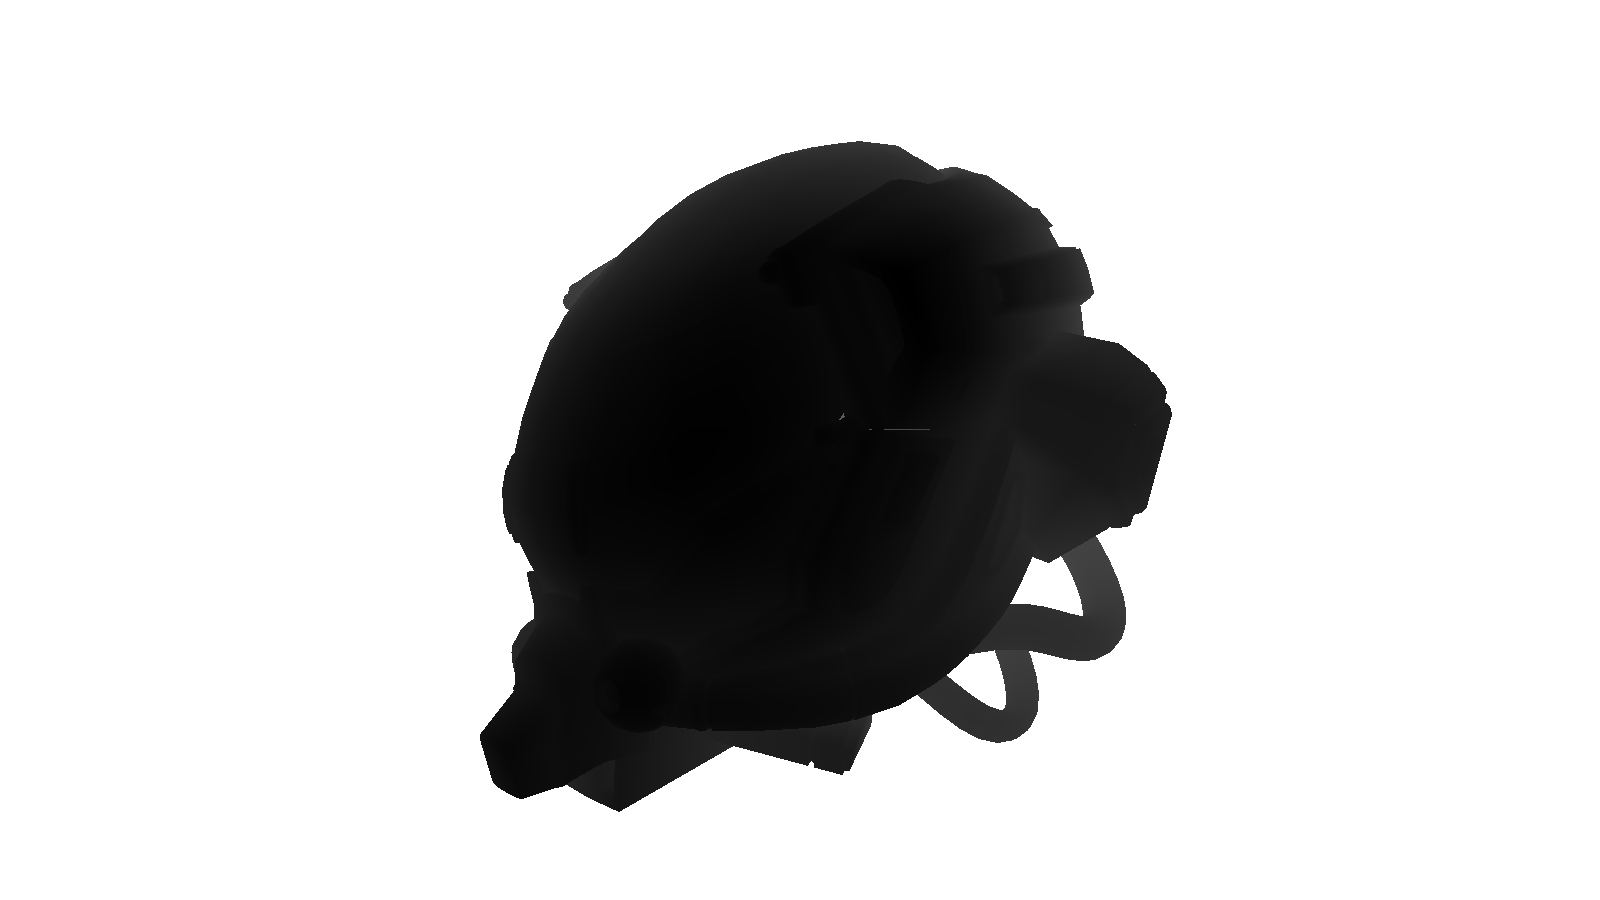
Oceanman uses 4 G-buffers:
WriteGBuffers pass.Here’s how each of those buffers look:
Alebdo:
 Normal:
 Material:
 Depth (clamped [.99608 - 1.0]):
After we write our gbuffers, we can calculate our lighting in the Compose pass. Oceanman makes use of
PBR, and calculates lighting from both direct sources (i.e point lights), and an image-based light.
Calculating lighting from direct sources is relatively simple. The psuedocode is this:
let total_direct_lighting = (0.0, 0.0, 0.0)
    for each light:
        total_direct_lighting += BRDF * radiance * dot(n, l)
The radiance is the how much each light affects the surface point we’re rendering - in Oceanman this is just
the light’s color divided by the square of the light’s distance to the surface (lights further away
-> lower contribution to lighting at this surface point). The dot(n, l) scales the lighting contribution
depending on how perpendicular the light is to the surface. The BRDF is the more tricky part. Conceptually, this paper helped me the most in
understanding what a BRDF is: in essence, it computes the ratio of outgoing light to incoming light.
Implementation-wise, Oceanman uses the Cook-Torrance BRDF, which models diffuse lighting as a constant term
(surface color / PI) and specular lighting as the product of a normal distribution function, geometry
function, and fresnel function. I just ended up using the ones implemented in LearnOpenGL’s tutorials, which does a better job of explaining
those 3 functions than I could.
Image-based lighting is a bit of a trickier beast, and again, LearnOpenGL’s tutorials do a great job of explaining the minutiae. But to summarize, with image-based lighting, we require two cubemaps: an irradiance cubemap, that contains all of the image’s contributions to diffuse lighting for each possible surface normal; and a prefilter cubemap, that contains all of the image’s contributions to specular lighting for each possible surface normal.
For getting the irradiance map’s contribution, all we do is sample that cubemap texture with our surface
point’s given normal. Getting the prefilter map’s contribution is a bit tricker: it requires sampling
the prefilter map with our surface point’s reflected vector (reflect(-view, normal)) and
roughness (the higher the roughness, a higher mip-map level will be sampled from, giving blurrier reflection), and
then multiplying the prefilter map’s sample with a BRDF value from a lookup table. Ultimately, the shader code
for IBL looks like this:
let nDotV = max(dot(n, v), 0.0);
let r = reflect(-v, n);

let kS = schlick_fresnel_roughness(nDotV, f0, roughness);
let kD = (1.0 - kS) * (1.0 - metalness);

let irradiance = textureSample(diffuse_irradiance, ibl_s, n).rgb;
let diffuse = irradiance * albedo;

let roughness_level = f32(textureNumLevels(specular_prefilter)) * roughness * (2.0 - roughness);
let prefiltered_color = textureSampleLevel(specular_prefilter, ibl_s, r, roughness_level).rgb;
let brdf = textureSample(brdf_lut, ibl_s, vec2(nDotV, roughness)).rg;
let specular = prefiltered_color * (f0 * brdf.x + brdf.y);

let ambient = (kD * diffuse + specular);
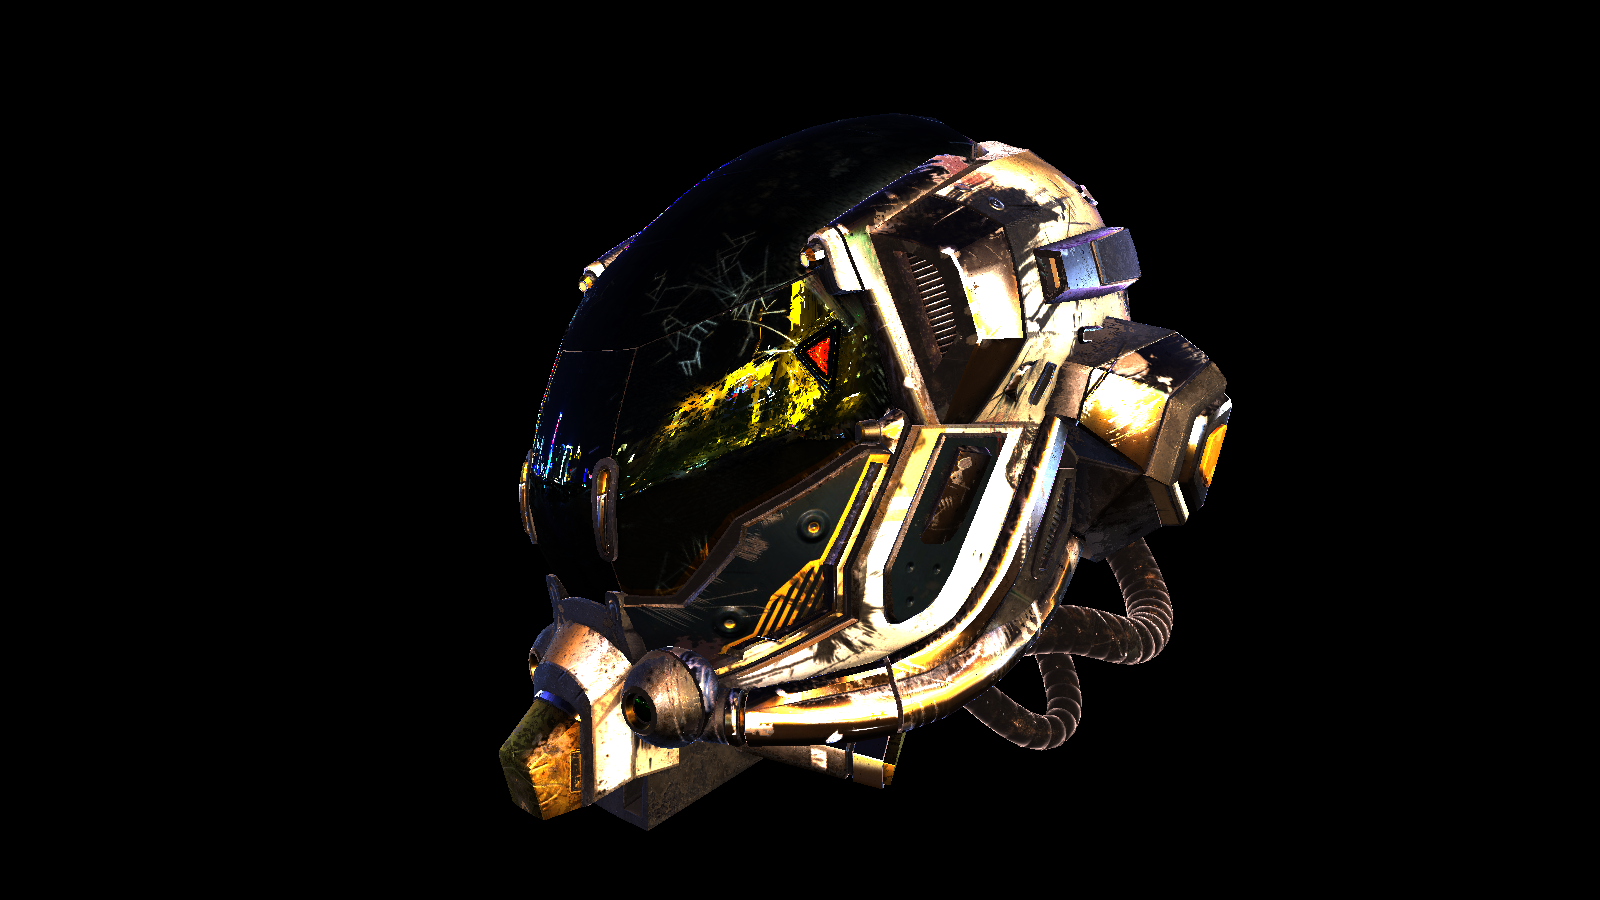
This ambient term is then added with our total_direct_lighting (called l0 in the actual shader) to
give us the final lighting for our scene.
Lighting from direct lights:
 Lighting from diffuse IBL:
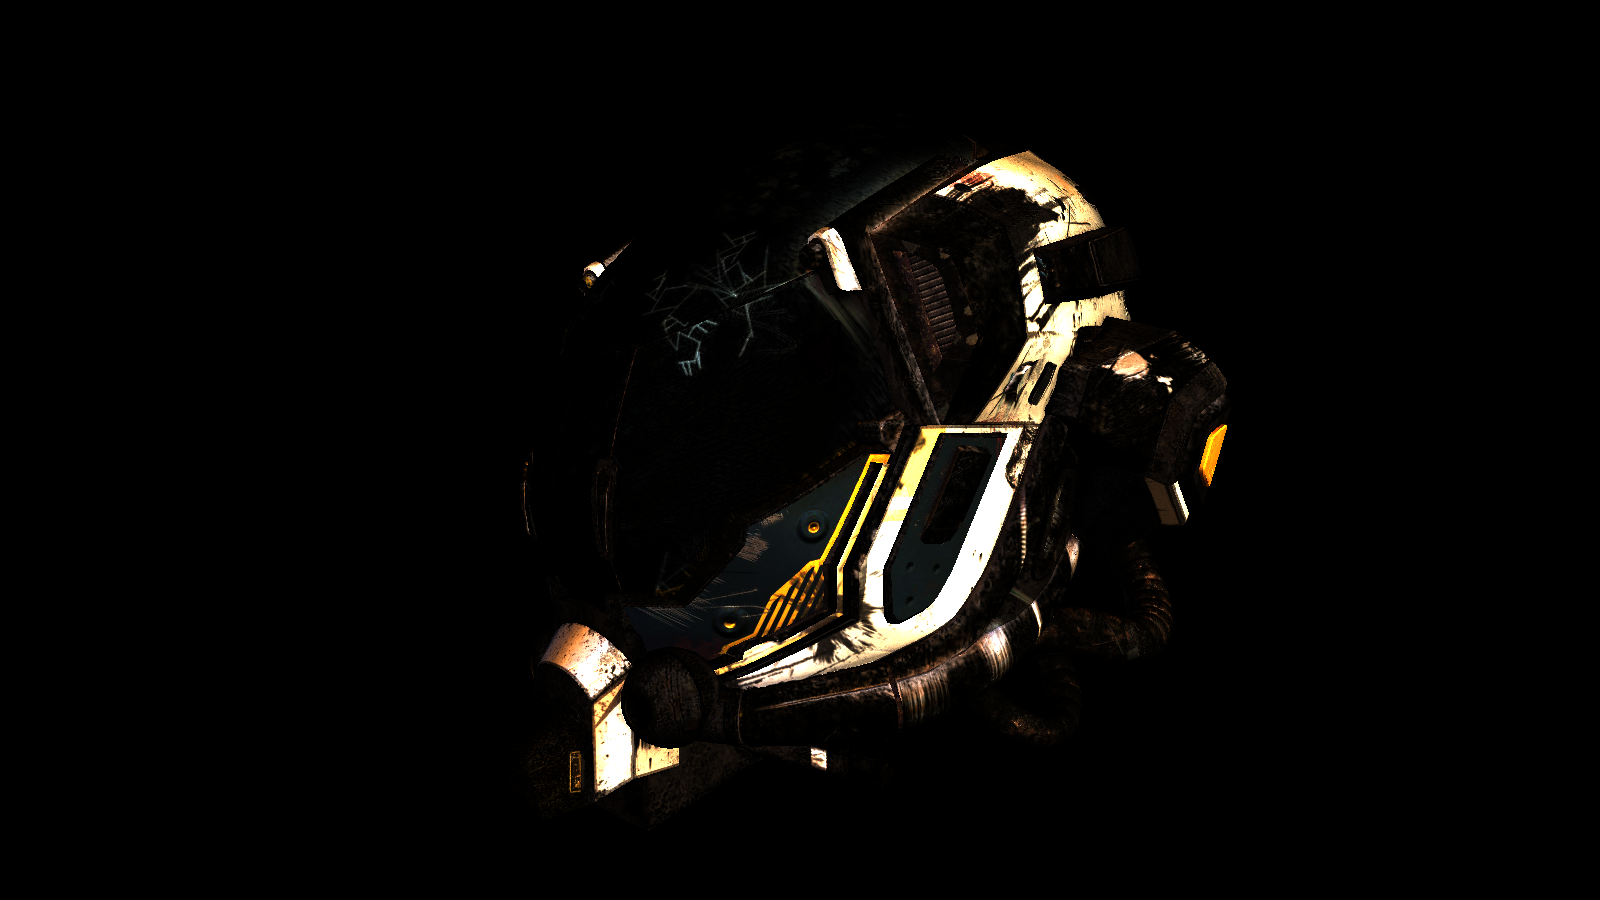 Lighting from specular IBL:
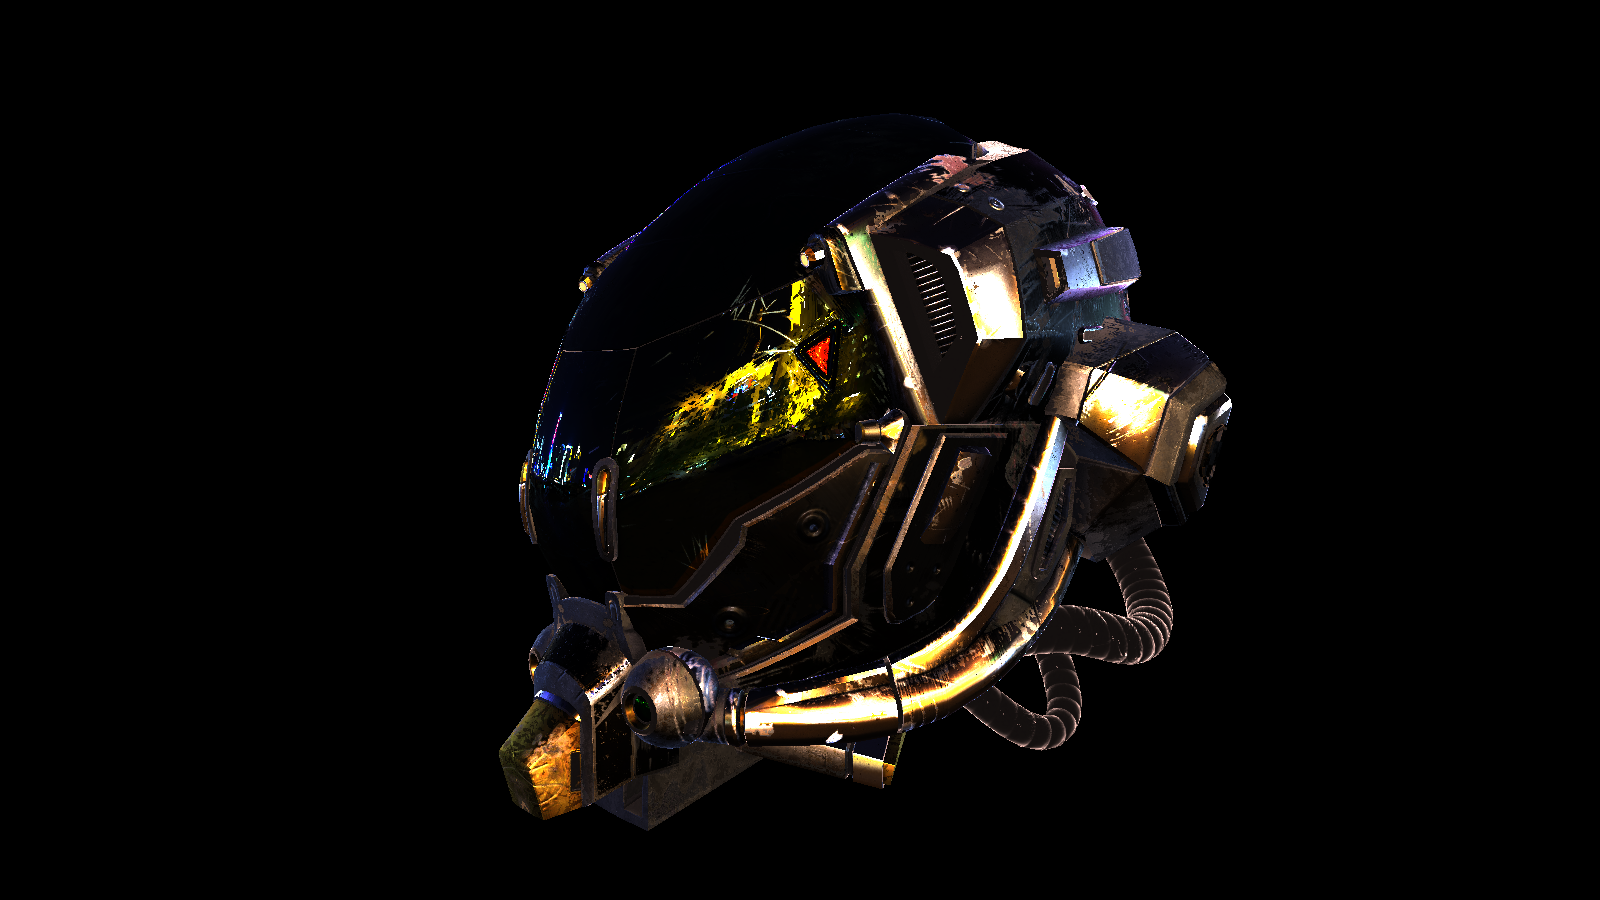 Lighting all put together:
Adding the skybox is in its own seperate pass, aptly named Skybox. The skybox is just rendered as a
large cube with the skybox as it’s texture.
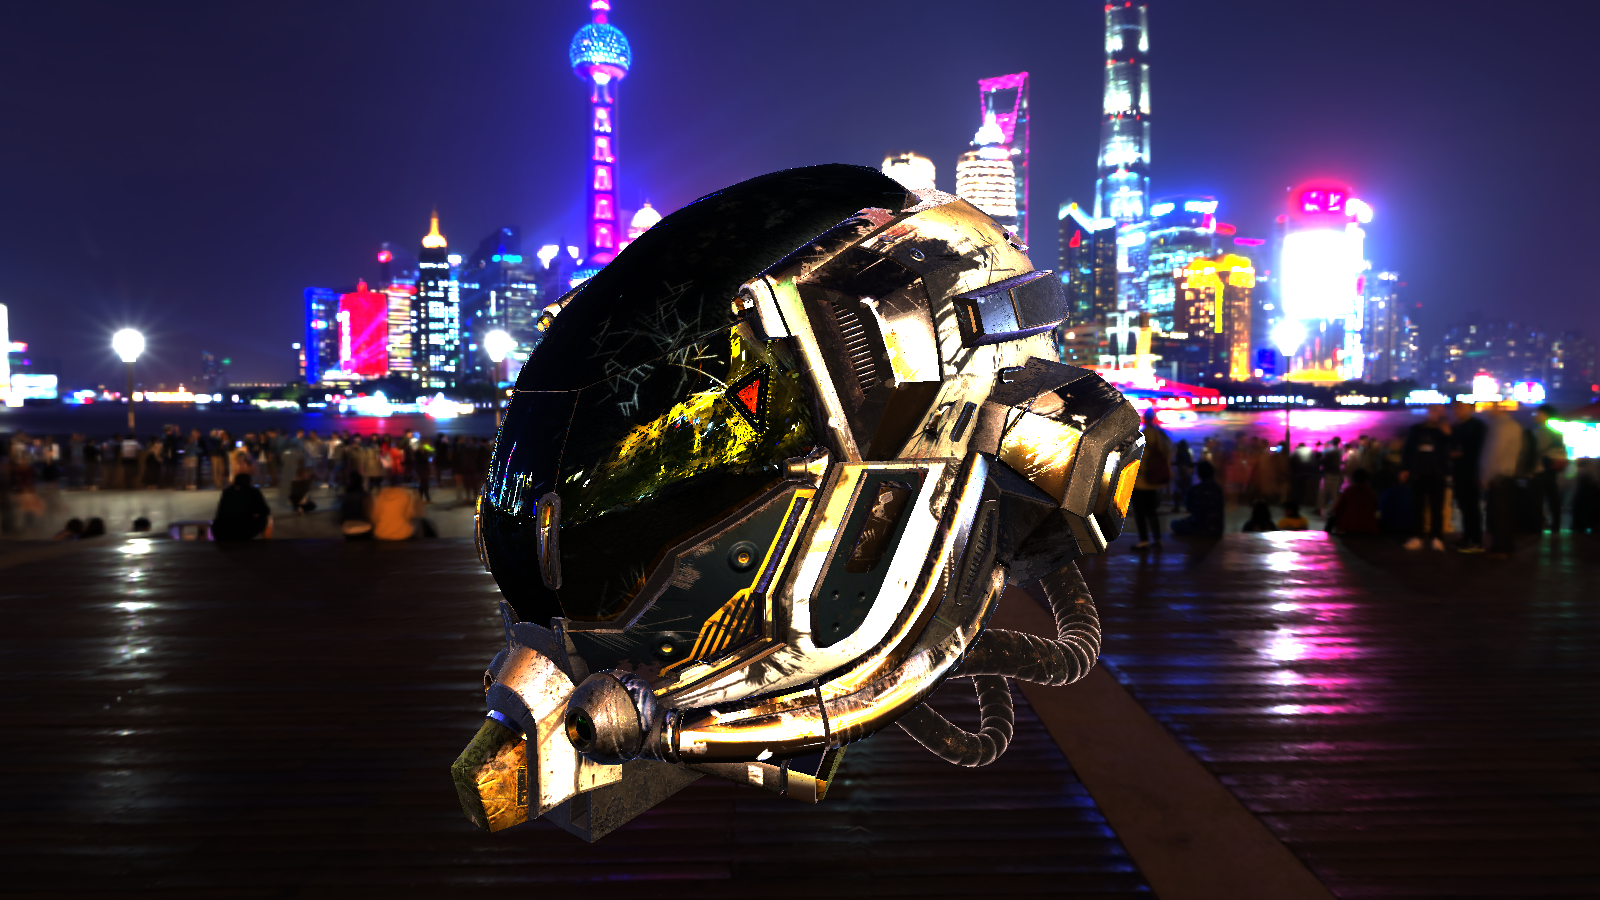
With all the final geometry & lighting being rendered, we can now move onto post-processing effects, of which Oceanman has two: tonemapping & FXAA.
The Compose and Skybox passes both work in HDR color space, with 16 bits per color
channel. The Tonemapping pass maps those colors into standard RGBA8 colors:
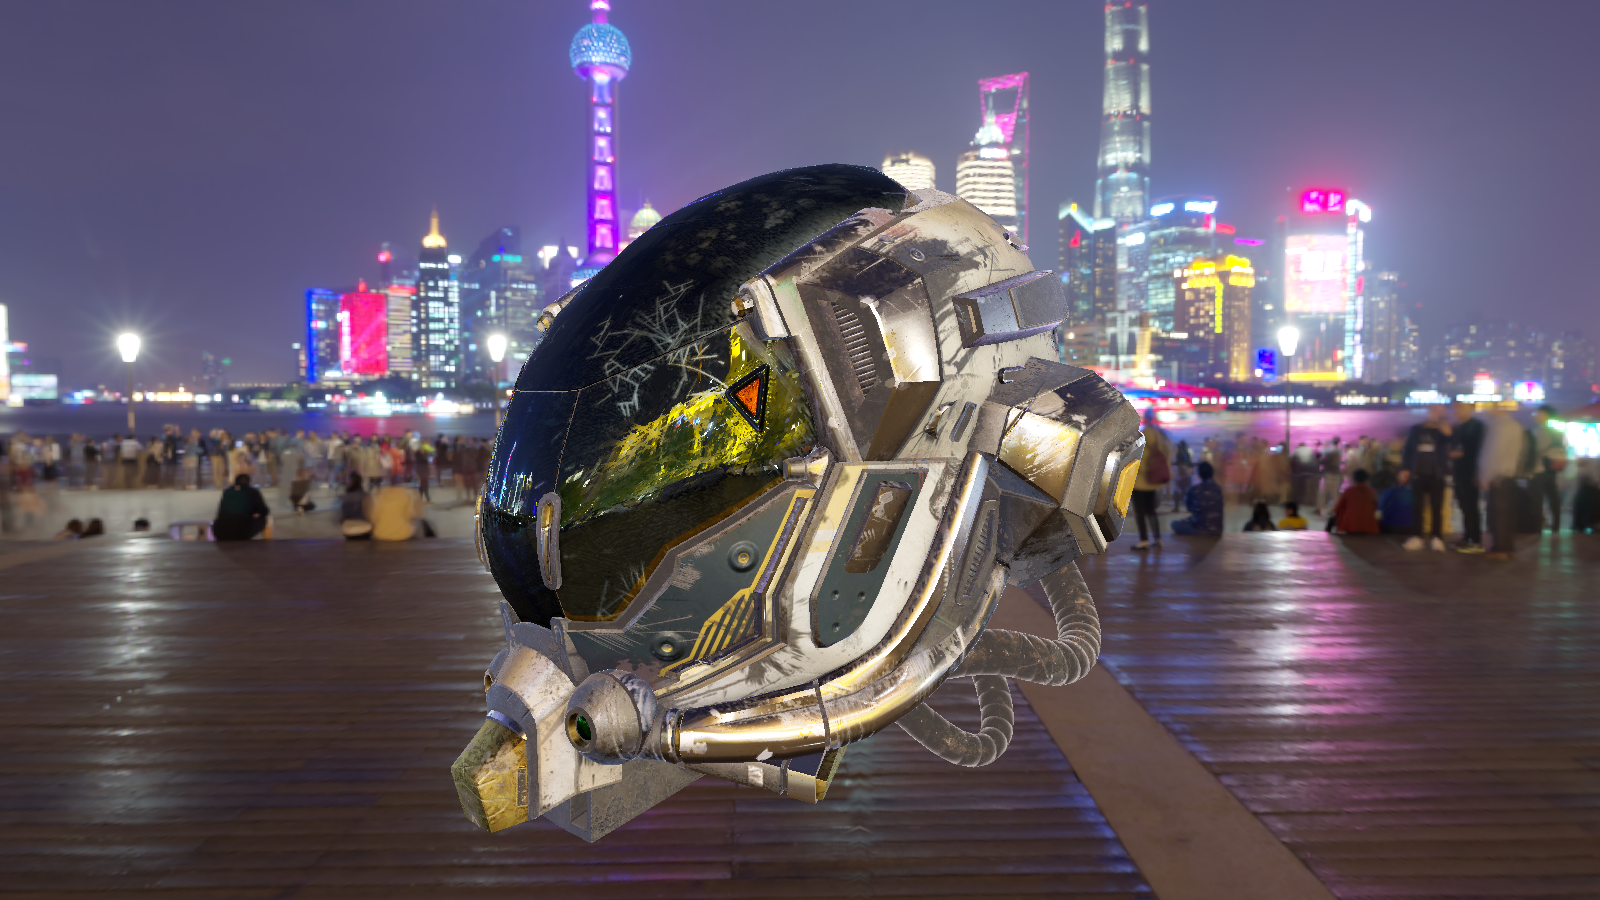
I implemented the Uncharted 2 tonemapping detailed in this article.
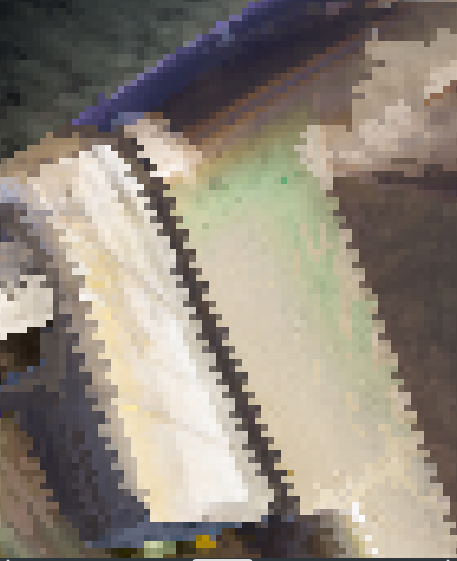
After the tonemapping pass comes FXAA, or fast-aproximate anti aliasing. I implemented it mostly by
following the original paper
and this blog post. I think this
pass is still a work-in-progress just because up-close, the results look a bit… wonky?
Previous frame w/ FXAA applied:
FXAA zoomed in:
No FXAA zoomed in:
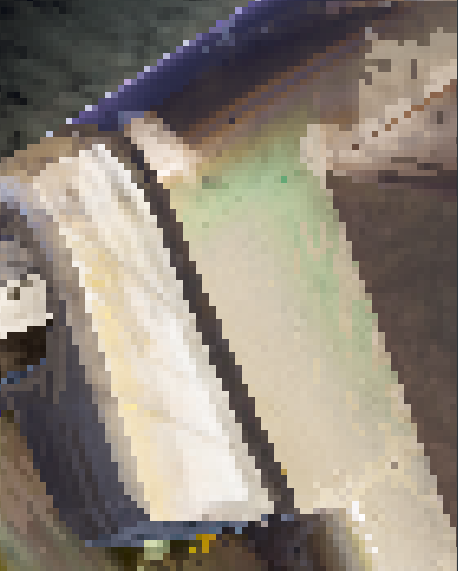
Definitely something that needs to debugged. I made FXAA toggleable though so this effect won’t always interfere with the final image.
The last bit of rendering Oceanman does is rendering the debug UI, which right now is just done in
Renderer::render() rather than its own pass. The UI is created with the egui library, very
similar to Dear ImGUI if you come from C++.

Aside from some very basic controls for FXAA and the camera, the two major features is the loader section and shaders section. Both were implemented somewhat late in the project, but if I was to redo this project from scratch I would implement those two features first. Both features have been huge for speeding up development: the loader section cuts down significantly on startup times and switching between different models/skyboxes for testing; and the shader section avoids recompiling Oceanman on every shader change, which has made shader development a lot more iterable and fun!
I got these numbers from RenderDoc’s (same tool I’ve used for all the pictures in this post) performance counter view:
WriteGBuffers: 124.1us
    Compose:       312.3us
    Skybox:        46.2us
    Tonemapping:   45.1us
    FXAA:          626.2us
    UI:            23.1us

    Total:         1177.0us
    Effective fps: 854.7fps
I’m heading off to college for my freshman year soon, so I’m planning to take a break from this project
as I get adjusted/figure out classes & what not. If/when I get back to this project, my first order of business
would probably be refactoring how resource management is done: WebGPU, though a pretty high-level graphics API, is
still not as high-level as I’d like it to be: there is a lot of repetitive boilerplate creating
TextureViews, BindGroups, BindGroupLayouts, and other resources. I’d
like to create a thin abstraction over this stuff and make it a lot easier to define new passes, shaders, and
resources. Second order of business would be debugging FXAA, and after that starting to tackle global illumination:
shadows, ambient occlusion, reflections, etc.
Oceanman is available on my GitHub if you’d like to browse through the code. If you have any feedback, suggestions, questions, feel free to reach out!